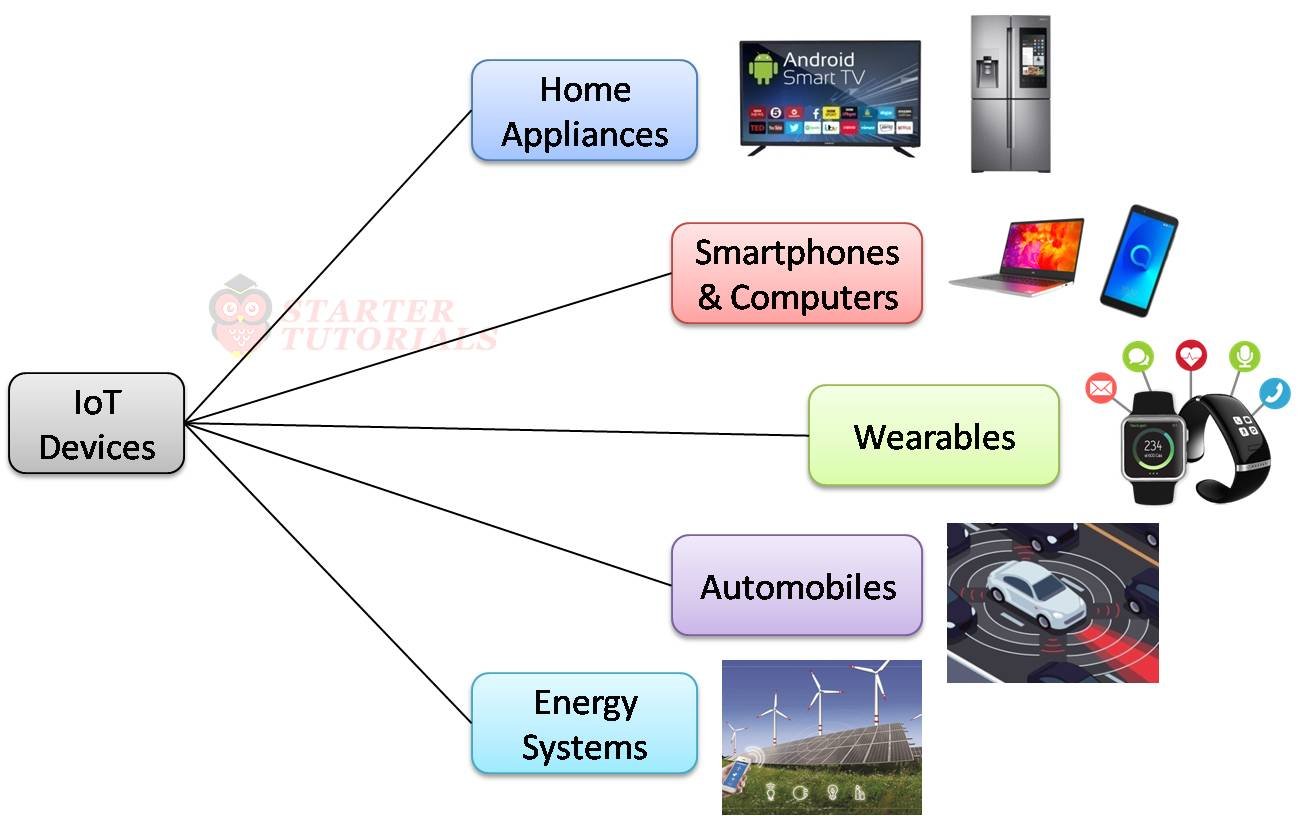
Introduction
The physical design of iot matters more than many people expect. Good hardware design keeps devices working in real places. I have built sensors that failed in rain and then learned to fix them. This guide shares clear steps you can use today. I use simple language and short sentences for easier reading. You will learn how to choose sensors, PCBs, antennas, and power systems. You will also learn about enclosures, testing, and manufacturing. These lessons come from real projects and common traps. Try the tips with a small prototype and test one risk. This introduction points to practical steps you can act on now. I will show common traps and fixes.
Why physical design matters
When a device leaves the bench, the real world tests it hard. The physical design of iot decides how a product survives weather and use. Heat, moisture, and vibration can break a poor design fast. Good design improves radio range and battery life. It also makes assembly and repairs easier for factories and field teams. Early mockups show problems before costly rework. Simple tests reveal issues with antennas, buttons, or seals. Design matters for user trust and for regulatory approvals. Start with clear goals and list likely failure modes. Then pick parts and layout to avoid those risks. Include a clear maintenance plan so devices can be serviced in the field. This planning saves support costs and builds user trust. Also, plan a simple dashboard to track device health and failures over time.
Understand the user and environment
Begin with who will use the device and where it will live. Is it a home sensor, a wearable, or a field instrument? Each setting brings different needs for size and ruggedness. Outdoor devices need seals, UV-safe plastics, and corrosion resistance. Wearables must be light and comfortable for long use. Industrial gear needs vibration tolerance and easy maintenance. Sketch daily and worst-case use to guide design choices. Mock up enclosures with foam, cardboard, or 3D prints. Test early with simple samples and field trials. Mockups help you see and measure real ergonomics. Test with a few potential users to get honest feedback fast. Capture photos and notes during tests to guide revisions and to show stakeholders progress.
Choosing sensors and components
Select sensors that match accuracy, size, and power needs. Read datasheets and check mechanical mounting details. Some sensors need direct exposure to air or a mesh. Others require stable temperature or calibration access. Prefer components with good vendor support and long-term supply. An unexpected end-of-life for a chip can halt production. Think about spare parts and common replacements. Small choices on sensors affect enclosure and PCB design. Document part numbers and alternate suppliers for resilience. Well-chosen components make the physical design of iot easier to scale. Check sensor noise and calibration needs in real settings. Document environmental tolerances and expected drift over time. Consider how sensor placement impacts readings and make mounting repeatable.
PCB layout and electronics placement
A clear PCB layout reduces noise and debugging time. Place analog and digital blocks with logical separation. Keep high-current traces short and use wide copper pours. Place decoupling capacitors close to power pins. Use ground planes to lower impedance and control return paths. Think of thermal paths and place hot parts away from sensitive sensors. Label test points and include programming headers for factories. Consider board stackup and impedance control for high-speed lines. A good layout helps antennas and RF systems perform reliably. Plan the PCB with the enclosure to avoid mechanical conflicts. Use thermal relief on pads for sensitive parts and plan star routing for power. A clear BOM simplifies sourcing and assembly. Include reference design notes and alternate parts for common replacements.
Antenna and wireless considerations
Wireless performance often hinges on antenna choice and placement. Antennas need clear space and correct grounding for best results. Metal enclosures can block signals and need windows or extensions. Decide early between chip, PCB, or external antennas. Each antenna type trades off size, cost, and range. Prototype and tune antennas on real devices, not only on breadboards. Test range and packet loss in the real environment. Avoid placing antennas near batteries or motors. When tuning antennas, document the tests and use consistent cables and setups to compare results. Keep a log of changes and versioned hardware files. This record helps cut troubleshooting time in production. Good antenna planning is essential in the physical design of iot projects.
Power management and battery design
Battery life dictates how users interact with a device. Choose battery chemistry to match recharge and discharge needs. Design safe charging with protection and thermal monitoring. Use power gating to shut off unused sensors and chips. Consider ultra-low-power modes for long deployments. Add a fuel gauge or simple voltage monitor for maintenance. Plan how batteries will be replaced or serviced in the field. Account for temperature effects on battery capacity and safety. Good power design saves visits and improves user trust. The physical design of iot must balance power and function. Add low-power modes and wake strategies to avoid frequent battery swaps. Evaluate trade-offs between sleep and responsiveness. Also test how firmware changes affect power and measure real consumption under load.
Thermal and mechanical considerations
Heat can degrade components and reduce lifetime. Spread heat using copper pours and thermal vias. Place hot parts away from heat-sensitive sensors. For sealed boxes, use conduction paths to metal faces. Design mount points to avoid stress on PCBs and to reduce flex. Use shock mounts for fragile sensors or modules. Choose materials based on strength, weight, and cost. Consider conformal coating to protect against moisture and corrosion. Thermal and mechanical choices often affect manufacturability. Address these early in the design cycle to reduce surprises. Heat and vibration tests show where failures begin. Plan for tolerances and assembly repeatability to improve yield. Thermal simulation can help, but real tests often reveal the practical problems.
Enclosure, user experience, and industrial design
The enclosure determines how users touch and install the device. Make buttons, LEDs, and ports easy to reach and understand. Plan battery access, SIM slots, and service panels with care. Use gaskets or seals for rated ingress protection when needed. Select plastics or metals based on durability and radio needs. 3D printing helps test fit, ergonomics, and assembly early. Label connectors and add alignment features for manufacturing. Think about recycling and end-of-life disposal in parts choice. The enclosure plays a large role in the physical design of iot hardware. Consider clear markings for polarity and orientation to reduce assembly errors. Think about tactile cues for users with limited vision. Use captive screws or snaps to avoid missing hardware in the field.
EMC, EMI, and regulatory testing
Start EMI and EMC thinking at the schematic and layout stage. Filter IO lines and prepare for common-mode noise. Keep high-speed clocks and switching converters isolated. Add shielding when necessary and design feedthroughs carefully. Run simple radiated tests early to catch major issues. Plan for certifications such as CE, FCC, or local approvals. Certification affects component choices and layout rules. Non-compliance can delay shipments and add costs. Early EMC efforts save time during final testing and launch. Work with test houses early to identify hard limits and expected margins. Prepare extra time and budget for compliance rounds. Create a pre-compliance checklist to catch basic failures before lab tests.
Prototyping and rapid iteration
Prototype early with dev boards and breakouts to validate ideas. Move to small-run PCBs to test integration and assembly. Use 3D prints for fit and feel tests before tooling. Run field trials in the same environment as the final product. Keep a change log for hardware and firmware revisions. Fix issues quickly and retest to learn from failures. Use simple automated tests to verify key functions in batches. Fast iteration shortens time to market and reduces risk. Document lessons to avoid repeating past mistakes. Maintain a prototype lab kit with replacement parts to speed repairs. Automate repetitive tests to run overnight if possible. Use simple jigs for repeatable mechanical tests and to speed human checks.
Manufacturing, DFM, and scale
Design for manufacturability to reduce errors and cost. Standardize board sizes, component footprints, and panelization. Include fiducials, tooling holes, and test pads for assembly. Minimize manual steps to lower labor costs and defects. Work with factories to match their pick-and-place limits. Plan for in-circuit test and programming during production. Pilot runs reveal practical issues before mass production. Factor in lead times and alternate suppliers for critical parts. The physical design of iot must fit factory realities to scale well. Include documentation for assembly and quality checks. Use simple QC checklists to catch assembly mistakes quickly. Train assembly staff on critical steps to avoid common faults.
Security and physical tamper resistance
Protect devices from physical tampering and data theft. Seal debug ports or make them accessible only during service. Use tamper-evident screws and stickers where needed. Consider epoxy over secure areas to deter reverse engineering. Store cryptographic keys in secure elements or TPM chips. Balance tamper resistance with the need for repairs. Plan secure boot and firmware update paths to avoid exploits. Physical security complements software protections for the end product. Balance tamper protection with maintenance needs by designing service-only access channels. Train field technicians on secure repair processes. Use seals or sensors to record if a device was opened.
Testing, certification, and lifecycle planning
Test for environmental, electrical, and functional robustness. Run vibration, drop, and humidity tests for rugged devices. Cycle batteries under expected loads to measure lifetime. Perform EMC and safety tests for target markets and standards. Create update plans for firmware and field repairs. Track versions and serials to manage recalls or batches. Plan spare parts and long-term supply strategies early. Certification paperwork can take months and should be scheduled. Lifecycle planning reduces downtime and keeps customers happy. Keep firmware update methods well tested with rollback options. Record all test setups to reproduce issues during support. Use staged rollouts to reduce the blast radius of problematic updates.
Real-world examples and lessons learned
I helped design a field sensor that failed after a season of rain. Early prototypes used plastic enclosures with poor seals. After rain, devices failed fast and lost connectivity. We moved to a sealed IP67 design with a keyed connector and a better cable gland. The battery life improved after changing to a lower power sensor and a tighter sleep strategy. Antenna placement fixed intermittent connectivity on a farm. Small layout tweaks cut EMI and saved a costly recall in another product. These stories show how the physical design of iot is about learning and fixing issues early. We added a keyed cable gland to prevent water ingress and improved the potting compound. These fixes extended field life and reduced maintenance calls.
Conclusion and next steps
Good hardware design mixes user needs, electronics, and factory steps. Start with mockups, pick parts with supply stability, and test often. Focus on power, antenna placement, and enclosure early in the cycle. Work with manufacturers and plan for certification and service. Keep designs modular for future upgrades and repairs. Try a small prototype and test one big risk this week. Share results in communities or with colleagues to learn faster. Keep learning from each release and gather field metrics to guide improvements. Think long term and design for repairs and upgrades. Use feedback to refine both hardware and firmware. If you want help, share a photo or schematic. I can suggest practical changes. Start small, iterate often, and measure the results.
FAQs
FAQ 1
What is the most important aspect of the physical design of iot? Priority depends on the product and use. For battery-powered sensors, energy is crucial. For wearables, fit and comfort matter most. For industrial IoT, robustness comes first. Start by listing how the product might fail in the field. Address the highest risk first with tests and prototypes. If you cannot change a supply or part, design around it and add mitigations. Create a small test that validates your assumptions fast. Document outcomes so the team knows trade-offs and risks. A clear test plan helps focus limited time and budget. The physical design of iot should focus on the single biggest risk first.
FAQ 2
How do I choose the right antenna for my device? Decide on range, form factor, and mounting options first. PCB antennas save space but need careful layout. External antennas give range and flexibility but add cost. Tune and test antennas in the real environment for best results. Avoid placing antennas near metal or noisy electronics. Consider certified modules to reduce radio compliance work. Measure range in real settings and document results. After choosing an antenna type, test several placements and record results. Use consistent test gear and note obstructions in the test area. Field checks often change design choices.
FAQ 3
Can I reduce cost without losing quality in hardware design? Yes. Use common board sizes and standard parts to cut cost. Design for automated assembly to reduce labor steps. Minimize custom tooling early in development. Run pilot batches to catch assembly issues before scaling. Supplier relationships and backups keep costs stable. A focus on DFM helps lower unit cost while maintaining quality. Also test assembly time and worker feedback to find simple productivity wins. Small changes can cut labor cost and improve quality in production.
FAQ 4
How do I test for environmental durability? Use humidity and salt-fog tests where moisture matters. Thermal cycling shows mechanical stresses from expansion. Vibration testing helps find solder or connector failures. Run battery cycle and charge stress tests for longevity. Field trials in target conditions often reveal hidden problems. Document failures with photos and logs for root cause analysis. Share test plans with your manufacturer and stakeholders. Include third-party field testers to widen test coverage. Measure failures per thousand devices and use the data to prioritize design fixes and material choices. Field tests validate lab assumptions.
FAQ 5
What tools help with PCB and enclosure design? PCB CAD tools manage layouts, routing, and DFM checks. Mechanical CAD helps with fit, fasteners, and tolerances. 3D printing supports rapid enclosure prototypes and ergonomics. RF tools help tune antennas and predict interference. Thermal simulation can predict hotspots and guide cooling. Test gear like oscilloscopes and spectrum analyzers validate real-world signals. Many open-source tools exist for hobbyists and small teams. Pair PCB CAD with mechanical CAD for alignment and tolerances. Use 3D prints to verify mounting and cable routing. Keep a checklist of tools for each design phase.
FAQ 6
How should I plan for repairs and upgrades? Keep service points accessible and modular. Use standard connectors and clear labels for spare parts. Document firmware recovery steps and safe update procedures. Provide spare parts lists and ordering codes for field teams. Balance serviceability with tamper resistance for security needs. Plan firmware and hardware versioning to avoid compatibility problems. Make repair guides with photos and torque specs to speed field fixes. Keep a spare parts kit with common failing parts. Train incoming field staff on basics and update guides as issues emerge. Good planning lowers support cost and extends product life.