Introduction
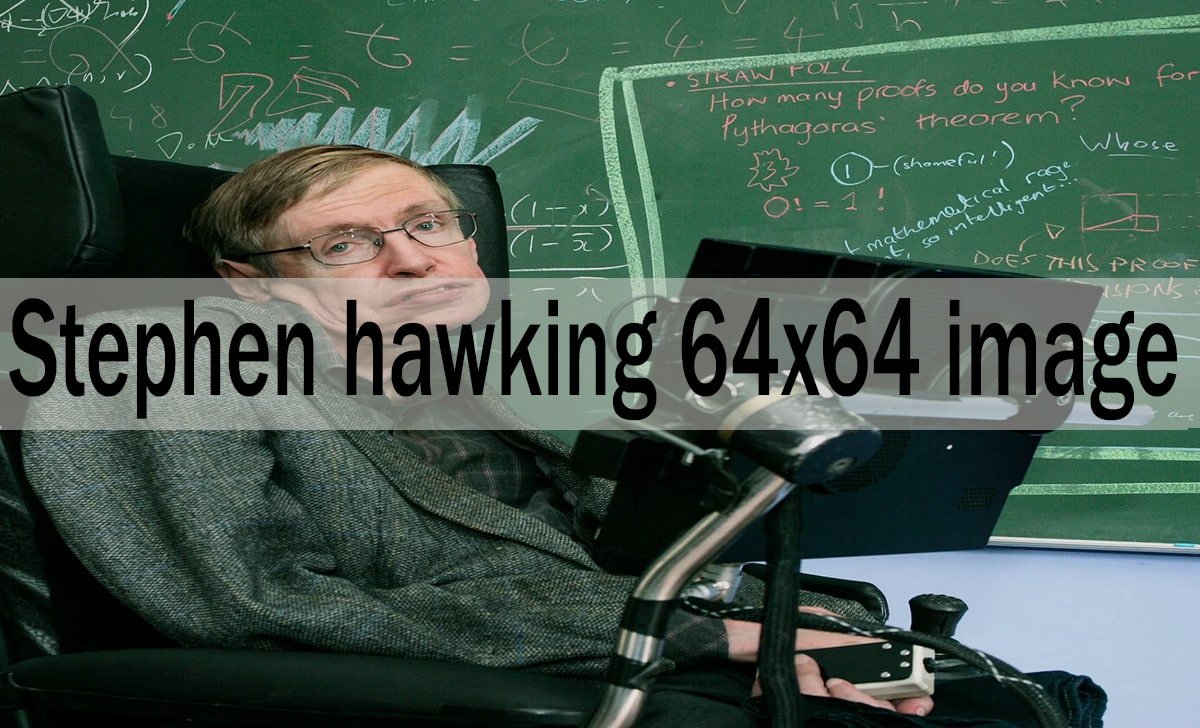
Stephen Hawking transformed our understanding of the universe with his groundbreaking work on black holes and cosmology. His iconic image complete with knowing smile and piercing eyes remains one of the most recognizable faces in science. But what happens when you compress this legendary physicist’s likeness into just 64×64 pixels?
Small-format images have experienced a renaissance in our digital age. From social media avatars to retro gaming aesthetics, the 64×64 pixel format offers a unique blend of minimalism and recognition. Creating a Stephen Hawking image at this resolution presents both technical challenges and artistic opportunities.
This guide will walk you through the process of creating your own Stephen Hawking 64×64 image, exploring the tools, techniques, and creative considerations that make these tiny portraits so compelling. Whether you’re designing an icon, creating pixel art, or simply exploring digital minimalism, you’ll discover how to capture the essence of one of history’s greatest minds in just 4,096 pixels.
Why 64×64 Pixels Matter
The 64×64 pixel format holds special significance in digital design and computing history. This resolution became a standard for icons, avatars, and user interface elements because it strikes the perfect balance between detail and file size efficiency.
At 64×64 pixels, an image contains exactly 4,096 individual pixels. This constraint forces designers to focus on the most essential visual elements the features that make a face instantly recognizable. For Stephen Hawking, this means capturing his distinctive eyebrows, the curve of his smile, and the intelligent gleam in his eyes.
The format also carries nostalgic weight in gaming culture. Many classic video games used 64×64 sprites for character portraits, giving these small images a retro aesthetic that resonates with modern audiences. When applied to a figure like Hawking, this pixelated approach creates an interesting juxtaposition between cutting-edge science and vintage digital art.
From a practical standpoint, 64×64 images load quickly and display clearly on both high-resolution screens and older devices. They work equally well as Discord avatars, forum profile pictures, or elements in web design where space is at a premium.
Selecting the Perfect Source Image
Your Stephen Hawking 64×64 image will only be as good as the source photograph you choose. The ideal source image should feature clear contrast, distinctive features, and good lighting.
Look for photographs where Hawking’s face fills most of the frame. Headshots work better than full-body images since you’ll have more pixels dedicated to facial features. Images with neutral or simple backgrounds translate better to low resolutions, as complex backgrounds can become muddy and distracting when scaled down.
Consider the expression captured in the photograph. Hawking’s slight smile and engaged eyes are part of his iconic appearance, so choose images that showcase these characteristics. Professional portraits often work well, but candid shots can sometimes capture more personality.
The technical quality of your source image matters too. Higher resolution starting images generally produce better results when downsized. Look for photos with minimal compression artifacts and good sharpness, particularly around the eyes and mouth where detail is most important.
Tools for Creating Your 64×64 Image
Several software options can help you create a Stephen Hawking 64×64 image, ranging from professional graphics programs to free online tools.
Adobe Photoshop remains the gold standard for image editing. Its advanced resampling algorithms and manual editing tools give you precise control over the downsizing process. You can adjust individual pixels, apply filters to enhance contrast, and fine-tune the final result.
GIMP offers similar capabilities to Photoshop at no cost. Its scaling tools include multiple interpolation methods, and you can manually edit pixels using the pencil tool for pixel-perfect adjustments.
For those seeking simplicity, online pixel art tools like Piskel or Pixilart provide browser-based solutions. These tools are specifically designed for small-format artwork and often include features like onion skinning and animation support.
Specialized resizing tools such as ImageResizer or online converters can quickly generate 64×64 versions, though they offer less control over the final appearance. These work well for quick tests or when you need multiple variations.
Mobile apps like Pixel Studio or Dotpict allow you to create and edit pixel art directly on your phone or tablet, making them convenient for on-the-go creation.
Step-by-Step Creation Guide
Creating your Stephen Hawking 64×64 image requires careful attention to both technical and artistic details. Follow these steps for the best results.
Step 1: Prepare Your Workspace
Open your chosen image editing software and create a new document set to 64×64 pixels. Set the resolution to 72 DPI for web use. Import your source image of Stephen Hawking and position it on a separate layer.
Step 2: Initial Resize
Scale your source image to fit within the 64×64 canvas while maintaining the aspect ratio. Center the face within the frame, ensuring the eyes fall roughly in the upper third of the image. Don’t worry about exact sizing yet—focus on composition.
Step 3: Crop and Position
Crop the image to show primarily Hawking’s face, from roughly the top of his forehead to just below his chin. The goal is to maximize the pixels dedicated to recognizable features. His eyes should be clearly visible and well-positioned within the frame.
Step 4: Apply the Final Resize
Resize the cropped image to exactly 64×64 pixels. Experiment with different resampling methods bicubic tends to produce smoother results, while nearest neighbor creates sharper pixel boundaries. The best choice depends on your artistic preference and the source image characteristics.
Step 5: Enhance and Refine
Adjust the contrast and brightness to ensure key features remain visible. Hawking’s eyebrows, eyes, and smile should be clearly distinguishable. You may need to manually edit individual pixels to enhance important details or reduce visual noise.
Step 6: Final Polish
Review your image at actual size and at larger magnifications. Make final adjustments to ensure the image reads clearly as Stephen Hawking even at its tiny size. Save your work in both PNG format for web use and in your software’s native format for future editing.
Artistic Interpretation and Style Choices
Creating a 64×64 image of Stephen Hawking involves more than technical resize operations—it requires artistic interpretation and style decisions that affect how viewers perceive the final result.
Color vs. Monochrome
You can choose between full color, grayscale, or limited color palettes. Grayscale often works well for portraits, as it emphasizes form and contrast over color information. Limited palettes, such as using only four or eight colors, can create a distinctive retro aesthetic reminiscent of early computer graphics.
Pixel Art Style
Decide whether to embrace visible pixels or aim for smooth interpolation. Pixel art style celebrates the medium’s constraints, using sharp edges and visible pixel boundaries to create a distinctive look. Smooth interpolation attempts to minimize pixelation for a more realistic appearance.
Emphasis and Exaggeration
At 64×64 resolution, subtle features may disappear entirely. Consider slightly exaggerating key characteristics that make Hawking recognizable—his eyebrows, the curve of his smile, or the positioning of his eyes. This artistic license helps maintain recognition despite the format’s limitations.
Background Treatment
Simple backgrounds work best at low resolutions. Consider using a solid color, subtle gradient, or simple geometric pattern. The background should complement rather than compete with the facial features for the viewer’s attention.
Practical Applications and Use Cases
Stephen Hawking 64×64 images serve various purposes across digital platforms and creative projects, each with specific requirements and considerations.
Social Media Avatars
Many platforms support or even require small avatar images. A 64×64 Stephen Hawking image works well for science-focused accounts, educational profiles, or tribute pages. The format ensures your avatar remains clear even when displayed at thumbnail sizes in comment threads or user lists.
Website Design Elements
Web designers often need small portrait images for author profiles, testimonials, or historical timelines. A 64×64 Hawking image can represent scientific achievement, intellectual curiosity, or educational content while maintaining fast page load times.
Gaming and Interactive Media
Game developers creating science-themed content, educational games, or historical simulations might use a 64×64 Hawking portrait for character selection screens, achievement icons, or narrative elements. The format fits naturally within gaming interfaces and maintains the aesthetic consistency of pixel-based artwork.
Digital Art Projects
Artists exploring themes of science, technology, or human achievement might incorporate small-format portraits into larger compositions. Multiple 64×64 portraits can create mosaic effects or represent the collective nature of scientific progress.
Educational Materials
Teachers and content creators developing science curricula can use 64×64 images in presentations, worksheets, or digital textbooks where space is limited but visual recognition remains important.
Frequently Asked Questions
What file format should I use for my Stephen Hawking 64×64 image?
PNG format works best for 64×64 images because it preserves sharp edges and supports transparency. Avoid JPEG compression, which can introduce artifacts that are particularly noticeable in small images. If you need animation, consider GIF format, though it limits your color palette.
How can I make my 64×64 image look less blurry?
Try using nearest neighbor interpolation when resizing, which maintains sharp pixel boundaries. Increase contrast after resizing to make features more distinct. Consider manually editing individual pixels to sharpen important details like eyes and mouth. Sometimes slight stylization works better than strict realism at this resolution.
Can I create a 64×64 image from any Stephen Hawking photograph?
While technically possible, not all source images produce good results. Photos with clear lighting, simple backgrounds, and Hawking’s face prominently featured work best. Avoid images with complex backgrounds, poor contrast, or heavy shadows that can become muddy when downsized.
Should I create multiple versions with different styles?
Yes, creating variations helps you find the most effective approach. Try different color treatments, contrast levels, and artistic styles. You might create one version optimized for light backgrounds and another for dark backgrounds, or experiment with both realistic and stylized approaches.
How do I ensure my image remains recognizable as Stephen Hawking?
Focus on his most distinctive features: his intelligent eyes, characteristic eyebrows, and slight smile. These elements should remain clear even at 64×64 resolution. Test recognition by showing the image to others or viewing it at actual size rather than magnified in your editing software.
Preserving Genius in Digital Miniature
Creating a Stephen Hawking 64×64 image challenges us to distill one of history’s most brilliant minds into its essential visual elements. Through careful source selection, thoughtful tool usage, and artistic interpretation, these tiny portraits can capture not just Hawking’s appearance but something of his enduring legacy.
The process teaches valuable lessons about visual communication and the power of constraints in creative work. Just as Hawking found profound truths within the mathematical limits of physics, creating effective 64×64 images requires finding clarity within severe technical boundaries.
Whether you use your Stephen Hawking 64×64 image as an avatar, design element, or artistic statement, you’re participating in a unique form of digital portraiture that bridges the gap between cutting-edge science and nostalgic pixel art. Take time to experiment with different approaches, and don’t hesitate to create multiple variations as you discover what works best for your specific needs and aesthetic preferences.